English


Views: 0 Author: Site Editor Publish Time: 2025-08-11 Origin: Site


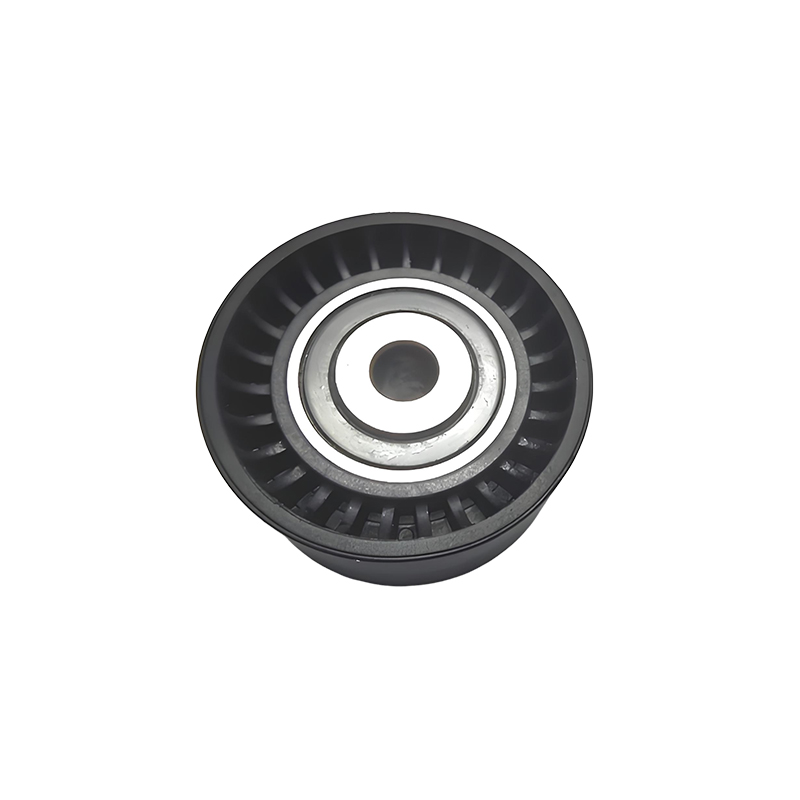
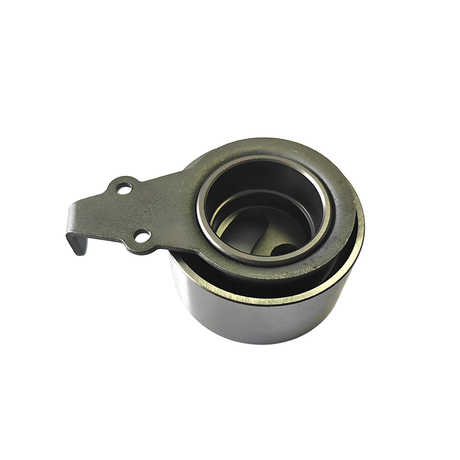
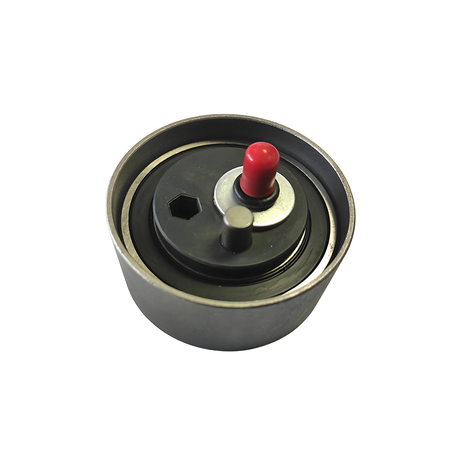
Non-standard automotive tightening wheel bearings are key components used to adjust belt tension in automotive engine accessories systems (such as generators, air conditioning compressors, water pumps, etc.). The installation quality directly affects the belt transmission efficiency and bearing life. Since the size, structure or material of non-standard bearings may differ from standard parts, more attention should be paid to details when installing. The following are the detailed installation methods and precautions:
1. Preparation before installation
1. Confirm the matching of bearings and accessories
Check parameters: Check whether the bearing inner diameter, outer diameter, width, channel curvature and other dimensions are consistent with the design requirements of the tightening wheel, and pay special attention to non-standard designs (such as special cages and seal ring positions).
Verify materials: Confirm whether the bearing steel material (such as GCr15) meets the requirements of high temperature and high load conditions, and avoid early failure due to the undustration of the material.
2. Cleaning and inspection
Cleaning parts: Use non-woven fabric to dip isopropanol or special cleaning agent, wipe the surface of the tightening wheel installation hole, bearing seat, and pulley to remove impurities such as oil, metal chips and other impurities.
Check for injury:
Bearing: Rotate the inner ring to check for any stagnation or abnormal noise; use a magnifying glass to observe whether there are indentations or cracks on the raceway and roller surfaces.
Tightening wheel: Check whether the arm body is deformed and whether the spring is ineffective (such as weakening of elastic force or breaking).
Pullwheel: Check the wear of the wheel groove. If the edge of the wheel groove has an acute angle or a depth deviation of >0.5mm, it needs to be replaced.
3. Prepare tools
Special tools: bearing pulling horse, hydraulic pressing bed, torque wrench (accuracy ±2%), feelter gauge, dial gauge.
Auxiliary materials: high-temperature grease (such as lithium-based grease), anti-loose glue (such as Loctite 243), sealant (such as silicone sealant).
2. Installation steps
1. Bearing pressed into tightening wheel
Heated bearings (optional):
If the bearing is interfered with (such as H7/p6), the bearing can be heated to 80-100℃ (using an induction heater or oil bath), and then pressed in quickly after 5 minutes of insulation.
Note: Avoid direct flame heating and prevent bearing annealing.
Cold press installation:
Fix the tightening wheel on the hydraulic pressing bed, apply a small amount of grease on the inner ring of the bearing, and press it slowly until the end surface of the bearing is fitted with the tightening wheel shoulder.
Pressure control: The pressing force must be calculated based on the bearing size (such as a bearing with a diameter of 50mm, the pressing force is about 5-8kN), to avoid excessive deformation of the bearing.
2. Install the tightening wheel assembly
Positioning and fixing:
Align the tensioning wheel assembly at the engine mounting hole and push it to the bottom with your hands to ensure no deflection.
Initial fixing bolts (such as M8×1.25), tighten with a torque wrench:
First time: 50% rated torque (such as 25N·m);
Second time: 100% rated torque (such as 50N·m), and hold for 5 seconds.
Spring installation:
If the tightening wheel has a spring, one end of the spring needs to be hung into the hook groove of the tightening wheel arm body and the other end is fixed on the engine bracket to ensure that the spring pretension force meets the design value (such as 200-300N).
3. Belt installation and tension adjustment
Belt positioning:
Put the belt into the wheel grooves of the generator, crankshaft, water pump, etc., and finally put it into the tightening wheel pulley.
Note: Avoid twisting or flipping of the belt and make sure that the sides of the belt are in full contact with the wheel groove.
Tension adjustment:
Measure belt tension with a dedicated tension gauge (such as Schaeffler TensionMaster), or lock it by rotating the tension wheel body to a specified angle (such as 90°).
Non-standard design: If the tightening wheel is hydraulic or electronic, the oil pipe or circuit must be connected according to the instructions and the tensioning force parameters must be initialized.
4. Final inspection
Run the test:
Start the engine and run at idle for 5 minutes to observe whether the tightening wheel vibrates or sounds.
Use an infrared thermometer to detect the bearing temperature, and the normal working temperature should be ≤80℃.
Torque review:
After 24 hours of operation, recheck the torque of the tightening wheel fixing bolts to ensure there is no loosening.
3. Frequently Asked Questions and Solutions
1. The bearing is stuck after installation
Cause: The bearing is deformed by excessive pressing force, or there are burrs in the inner hole of the bearing seat.
solve:
Recalibrate the pressure of the press, or sand the inner hole of the bearing seat with sandpaper.
Replace new bearings and ensure that the bearing and the seat hole are coaxial when pressed in ≤0.05mm.
2. The belt is off or slipped
Cause: The tightening wheel arm body is deformed, or the pulley does not match the belt.
solve:
Correct the flatness of the tightening wheel arm body (tested with a dial meter, the deviation should be ≤0.1mm).
Replace pulleys that match the belt model (such as multi-wedge belts that require corresponding V-wheel grooves).
3. Early failure of bearings
Cause: Inadequate lubrication, failure of seal or overload.
solve:
Replenish high-temperature grease (such as replacement every 20,000 kilometers).
Check whether the seal ring is damaged. If oil leaks, replace the seal.
Avoid long-term high load operation of the engine and reduce bearing impact load.
4. Safety and maintenance suggestions
Personal protection: Wear protective glasses and gloves during installation to avoid splashing bearing debris and injuring people.
Regular maintenance:
Check the clearance of the tightening wheel bearings every 50,000 kilometers (measured with a feeler gauge, the maximum allowable value is 0.3mm).
When replacing the belt, check the tightening wheel simultaneously. If the elasticity of the arm body is weakened or the bearing is abnormally loud, it needs to be replaced as a whole.
Notes on non-standard design:
If the bearing is equipped with an encoder or sensor, it is necessary to avoid collision and signal interference during installation.
For non-standard bearings with lightweight design, installation torque must be strictly controlled to prevent threaded slips.