English


Views: 0 Author: Site Editor Publish Time: 2025-10-28 Origin: Site


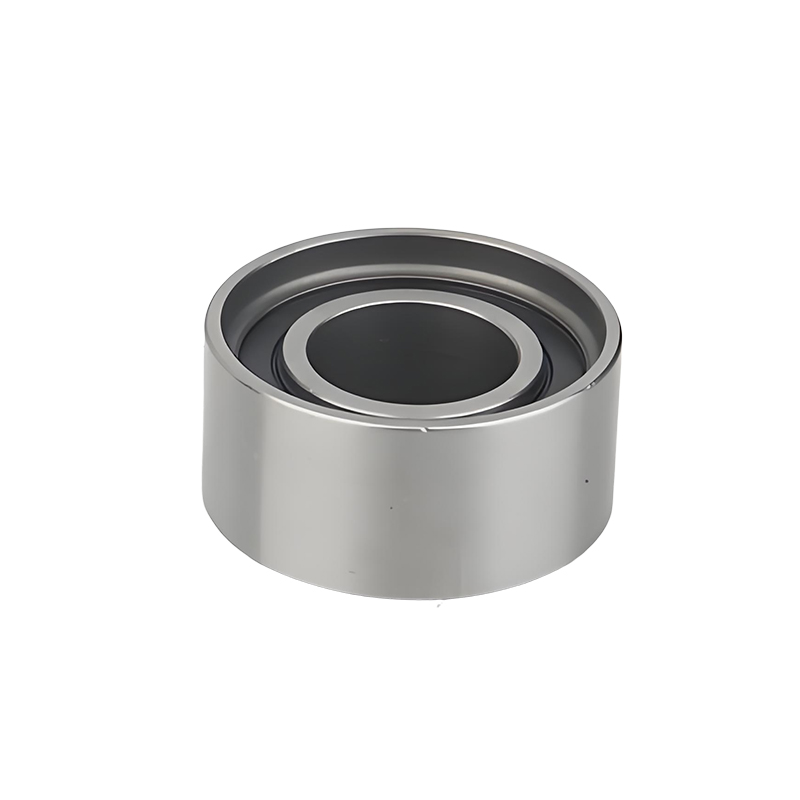
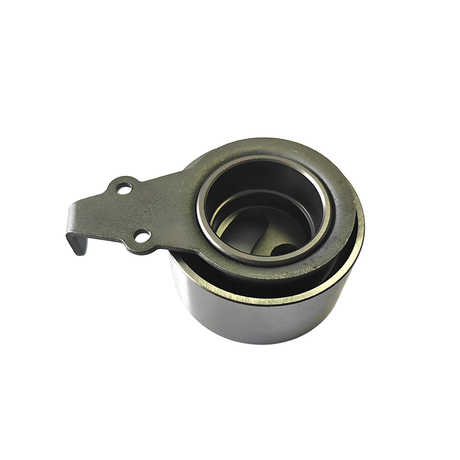
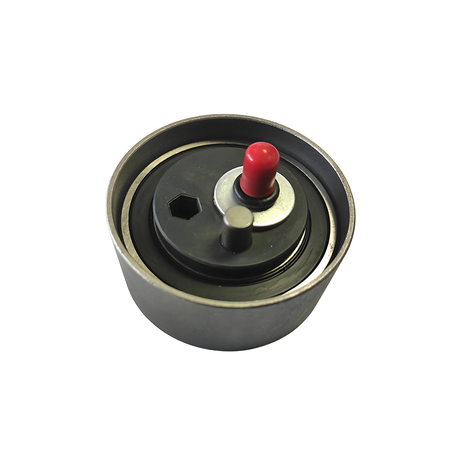
The installation of special non-standard bearings for automobile tensioners must strictly follow standardized operations. Combined with the characteristics of non-standard bearings, the following are the specific installation methods and precautions:
1. Preparation before installation
Clean environment
Ensure that the installation environment is free of dust and impurities to prevent foreign matter from entering the bearing and affecting operating accuracy.
Use a clean cloth to wipe the wheel hub, shaft surface and bearing seat hole to remove oil and rust.
Tools and Parts Inspection
Prepare special pressing tools (such as presses), torque wrenches, jacks, safety brackets, etc. to ensure that the accuracy of the tools meets the requirements.
Check whether the new bearing model matches, whether there are any cracks or scratches on the appearance, and whether the measured dimensions are qualified.
Confirm that the tensioner assembly (including belts, bolts, etc.) is not worn or damaged.
vehicle support
Use a jack to lift the vehicle and firmly support it on the safety bracket to prevent the vehicle from shaking during operation.
2. Installation steps
Remove old parts
Remove the tires, brake calipers and hubs to expose the position of the tensioner.
Loosen the tensioner pulley bolts and remove the old bearing and tensioner pulley assembly. Be gentle to avoid damaging surrounding parts.
Bearing lubrication
Evenly apply an appropriate amount of grease on the inner and outer rings, rolling elements and tensioner journal of the new bearing (according to the vehicle manufacturer's requirements).
If non-standard bearings have dust covers or sealing rings on both sides, no additional lubrication is required.
Bearing installation
Method selection:
Press-in method: suitable for bearings with small interference. Use a special press-fitting tool to apply pressure directly to the end face of the inner ring of the bearing and evenly press it into the shaft to avoid uneven axial force.
Hot loading method: suitable for bearings with large interference. Put the bearing into 80-90℃ clean engine oil and heat it. After taking it out, install it on the shaft quickly to prevent annealing caused by excessive temperature.
Operation points:
When pressing in, make sure the bearing is concentric with the shaft to avoid tilting or deflection.
After hot installation, tap the outer ring of the bearing lightly with a copper rod to ensure a complete fit.
Installation of tensioner wheel assembly
Align the tensioner assembly with the bearing position and tighten the bolts in diagonal order to the specified torque (refer to the vehicle model maintenance manual).
Install the belt and adjust the tension to the standard value (use a tensiometer to check).
Part reset
Reinstall the wheel hub, brake caliper, and tire in sequence, and tighten the bolts to the specified torque.
3. Post-installation inspection
Running test
Manually turn the tensioning wheel to check whether it is flexible and free of stagnation and abnormal noise.
Start the engine and observe whether the belt runs smoothly and the tensioner pulley does not jump or shift.
Parameter adjustment
Use a laser measuring instrument or a four-wheel aligner to detect wheel alignment parameters and adjust them to the standard range.
Check whether the bearing clearance meets the requirements and correct it by adjusting the gasket if necessary.
4. Precautions
No tapping
Under no circumstances should you hit the bearing directly to avoid damaging the rolling elements or cage.
direction recognition
Bearings with magnetic coding rings must be installed in the specified direction (magnetic side facing the inside of the wheel) to avoid installation that affects the ABS signal.
Magnetic field isolation
Before installation, stay away from strong magnetic field environments to prevent the magnetic coding ring from failing.
Coaxial replacement
It is recommended that the tensioner bearings on both sides of the coaxial shaft be replaced at the same time to ensure balanced force.
Test drive verification
After the installation is completed, conduct a short test drive to confirm that there is no abnormal vibration or noise.