English


Views: 1 Author: Site Editor Publish Time: 2025-12-04 Origin: Site


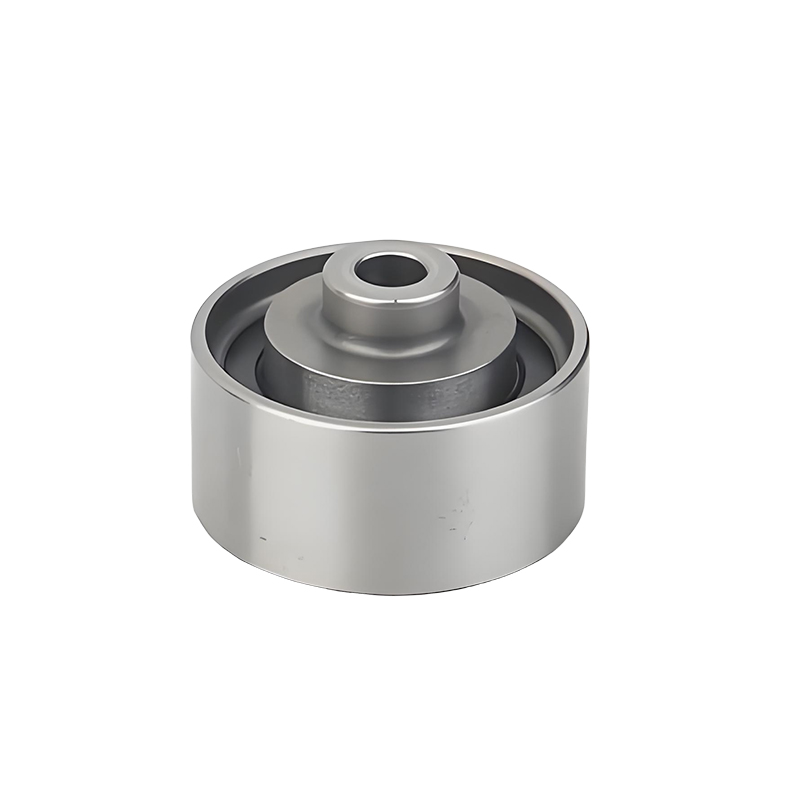
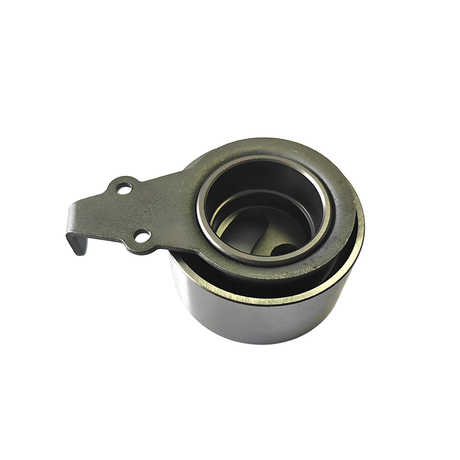
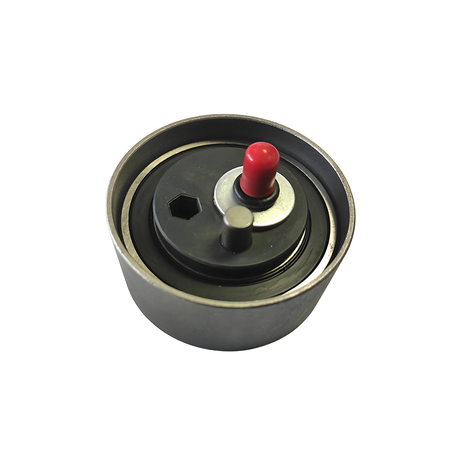
Installation steps and precautions for special non-standard bearings for automobile tensioners
1. Installation steps
Preparation
Tool preparation: Prepare appropriate wrenches, screwdrivers, presses (if needed), induction heating equipment (if needed), cleaning tools (such as rags, oilstones, fine sandpaper), etc.
Component inspection: Check whether the model and size of the new special non-standard bearing for the tensioner match the vehicle, and ensure that the bearing is free from damage, burrs, scratches and other defects. At the same time, check whether the mating surfaces such as the journal, the surface of the bearing housing hole, and the shoulder end face are clean and free of rust layers, wear debris, sand, dust, soil and other attachments. If there is any rust layer, you can use a fine file to remove it and polish it with fine emery cloth.
Clean environment: Make sure the installation environment is clean and tidy, with enough operating space to prevent impurities and dust from entering the inside of the bearing.
Removal of old tensioner
Secure the vehicle: Use the handbrake to secure the vehicle to prevent it from moving forward or backward while supported by the safety bracket.
Loosen the bolts: Loosen the bolts that secure the tensioner and carefully remove the old tensioner from its installation position.
Clean the installation location
Remove impurities: Use a clean rag to remove dust, oil and debris from the installation area to ensure that the new tensioner can be installed securely.
Bearing installation
Heating treatment (if necessary): For medium and large bearings with large interference, in order to facilitate installation, induction heating equipment can be used to heat the bearings. The heating temperature generally does not exceed 120°C. Open flame heating is strictly prohibited. After heating, take out the bearing, wipe it clean, and install it while it is hot. For bearings with dust caps or sealing rings on both sides, since lubricant has been added during manufacturing, heating cannot be performed in the early stage of installation.
Install the bearing: Gently press the bearing into the installation position, ensuring that the bearing is in complete contact with the mating surfaces of the journal and the bearing housing hole, without tilt or jamming. During the installation process, avoid exerting force on the bearing cage and sealing plate to avoid damaging the bearing.
Use special tools: Try to use special tools for bearing installation and disassembly during installation, and avoid using methods such as the copper rod knocking method that can easily cause bearing damage.
Tensioner installation
Align the installation position: Align the new tensioner wheel with the installation position to ensure that the bearing and tensioner wheel fit correctly.
Preliminary fixation: Use bolts to initially fix the tensioner, but do not tighten it completely to facilitate subsequent adjustments.
Adjust the position of the tensioning wheel
Adjust the belt tension: According to the technical requirements of the vehicle, adjust the belt tension by rotating or moving the tensioner. Generally speaking, the belt tension should be moderate, neither too loose nor too tight.
Fastening bolts: After adjusting the belt tension, use a torque wrench to tighten the bolts of the tensioner pulley according to the specified torque value to ensure that the tensioner pulley is installed firmly.
Check and test
Check the installation quality: Check whether the installation position of the tensioner pulley is correct, whether the bolts are tight, and whether the belt tension is appropriate.
Test operation: Start the vehicle and observe the operation of the tensioner to ensure that there is no abnormal noise, vibration or looseness.
2. Things to note
Avoid hard installation and impact: During the installation process, you must ensure that the bearing is installed gently to avoid damage to the bearing or surrounding components caused by hard impact. When the bearing and seat hole fit with a small clearance, the end face should be tapped gently to install it in the correct position to avoid tilting due to hard impact, making it difficult to install or damaging the surface of the bearing seat hole.
Ensure cleanliness: Before installation, the mating surfaces such as the journal and the surface of the bearing housing hole should be carefully inspected and cleaned to ensure that there are no impurities and attachments. During the installation process, the bearing and installation environment must also be kept clean to prevent dust and dirt from entering the bearing.
Pay attention to the heating temperature: If the bearing needs to be heated, the heating temperature and time should be strictly controlled to avoid bearing damage or performance degradation caused by excessive temperature. At the same time, pay attention to the choice of heating method, and it is strictly prohibited to use open flames for heating.
Use special tools: Try to use special tools for bearing installation and disassembly during installation to avoid bearing damage caused by using inappropriate tools or methods.
Follow technical specifications: The installation methods and requirements of the tensioner pulley may be different for different models. Be sure to refer to the vehicle's maintenance manual and technical specifications for operation.
Check the condition of the belt: After installing the tensioner, carefully check the belt for wear, cracks, etc. If there is any problem, the belt should be replaced in time to avoid affecting the normal operation and service life of the tensioner pulley.
Pay attention to the intact insulation (if applicable): For bearings with an insulating design on the outer ring, attention should be paid to ensuring that the insulation is intact. If the bearing insulation is damaged during installation, it may lead to oil film breakdown, electrical corrosion caused by sparks and other problems, accelerating bearing wear.